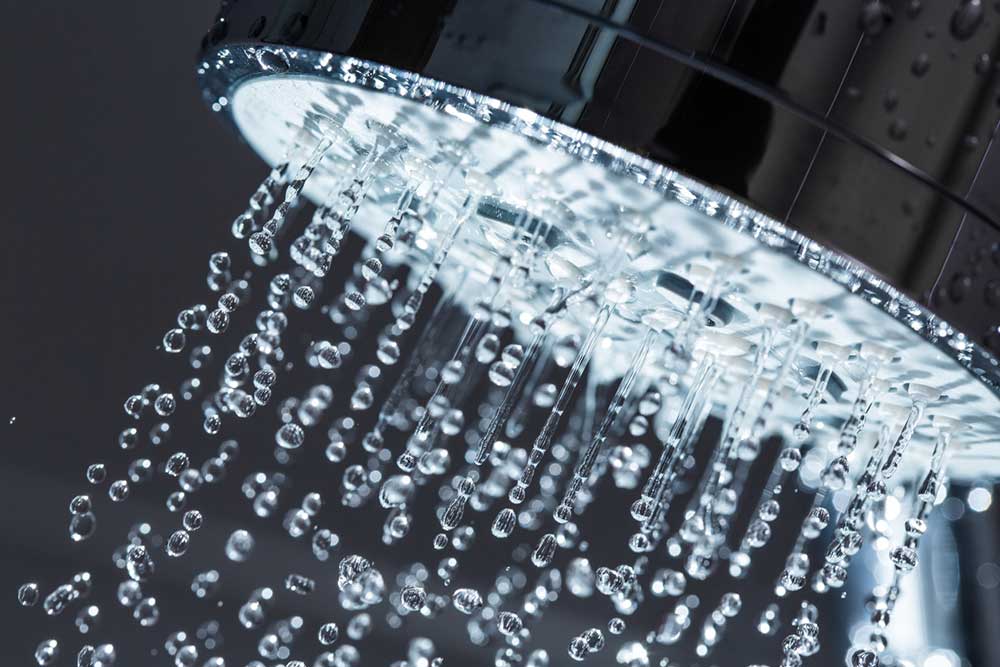
Low Pressure Coming from Your Shower Head? Here’s What to Do
Low water pressure in a shower can be frustrating, but the good news is that you don’t always have to call in a plumber because it is sometimes possible to deal with this problem on your own.
There are several common causes of low water pressure that you can troubleshoot and repair on your own, and the first step is to determine whether you are experiencing low water pressure everywhere in your house or only with your shower or bathtub.
If your whole house is affected, there might be something bigger happening, such as an old or faulty main water valve to the house. However, if you find your shower is the only issue, keep reading to find out your solution.
What Items You’ll Need
If you have started seeing a reduction of water flow from your showerhead that doesn’t necessarily mean you have a bigger problem. It may just be time to clean the components of the head. It is pretty simple to clean out a clog or lime build-up in most showerheads and requires few tools or special materials.
To clean the shower head, you will need to get at two components inside. One is the back of the spray head, and the other is the aerator. Some showerheads allow you to remove the spray head (the area with the little holes) separately from the rest of the head. Otherwise, you may need to remove the entire head to dismantle it.
To get inside your shower head, you’ll need pliers/channel lock pliers, a rag, and a brush (old toothbrushes work great) to scrub away any lime or calcium build-up. We recommend vinegar or any environmentally safe de-liming agent to get your scrub on.
How to Clean Your Shower Head
Before starting, be sure the water supply is off. After all, you don’t want to end up taking a shower while cleaning it.
1) Remove the showerhead, whether just the front surface or the entire head.
2) Remove the spray head, and dip in the vinegar or lime remover. Let it soak for 5 to ten minutes. If using a commercial cleaner, follow the instructions to ensure optimal use.
3) Find the small metal or plastic screen inside. This is the aerator, which catches small pebbles and other debris in the waterline, so it doesn’t leave the pipe. Rinse the screen and put it with spray head in the vinegar or lime/calcium remover.
4) Rinse the screen and spray the head thoroughly, scrubbing gently with the brush to remove any stubborn bits of lime or other debris. Hold them up to the light, and make sure you can see through each of the pinholes in the spray head. Be sure to rinse long enough that there is no residue of the vinegar or lime remover.
5) Reassemble the showerhead. Be sure to avoid overtightening any bolts as you could risk stripping threads or damage to your shower head’s interior.
Cleaning My Shower Head Didn’t Fix the Pressure
If cleaning your shower head didn’t restore pressure or the pressure issue returns quickly, you’re likely looking at deeper issues within your home. This could be anything from an old water heater to extremely hard water being supplied into your home.
Whatever may be the case, your best option is to call a plumber that knows what to look for. After all, not all plumbing issues are easy to detect.
Plumbing Medic LTD. specializes in finding solutions and offering valuable feedback to keep your house running optimally. Too many homeowners express that their current plumber doesn’t discuss why issues, such as low water pressure, keep occurring.
Give us a call today to get to the root of your plumbing problems and a Plumbing Medic will ensure you safe and express in-home services at a cost that won’t burn a hole in your wallet.

